



Everything You Need to Know about Bottom Lash Extensions: A Simple Guide
Learn how to apply bottom lash extensions with the right techniques, tools, and tips. Create a balanced lash look while keeping clients comfortable and natural.

Bottom lash extensions are a great way to add extra definition and balance to a lash set. They help create a more open, polished eye look while eliminating the need for mascara touch-ups.
Although bottom lashes can be more delicate to work with, the right technique and products can make the application smooth and effective.
Bottom lash extensions are applied to the natural lashes on the lower eyelid, similar to classic lash extensions. However, lower lashes are usually shorter, thinner, and fewer than upper lashes, so they require lighter and smaller extensions.
Choosing the right length and weight is important to keep the natural lashes healthy and achieve a natural finish.
⭐︎Benefits of Bottom Lash Extensions
Adding bottom lashes can instantly enhance the overall lash design:
More definition: Creates a balanced look and frames the eyes beautifully.
Mascara-free results: Keeps lashes looking clean and defined all day.
Perfect for special occasions: Great for weddings, photoshoots, and clients who want a more dramatic eye effect.
Step 1: Clean and Prep the Lashes
Start by removing makeup, oil, and residue from the lower lash line with an oil-free lash cleanser. Apply lash primer if needed to improve retention.
Use micropore tape to hold the upper lashes away from the working area, making the application easier.
Step 2: Isolate Each Bottom Lash
Use fine-point tweezers to carefully isolate one natural lash at a time. Proper isolation helps prevent lashes from sticking together and keeps the application comfortable for clients.
Step 3: Apply the Extensions
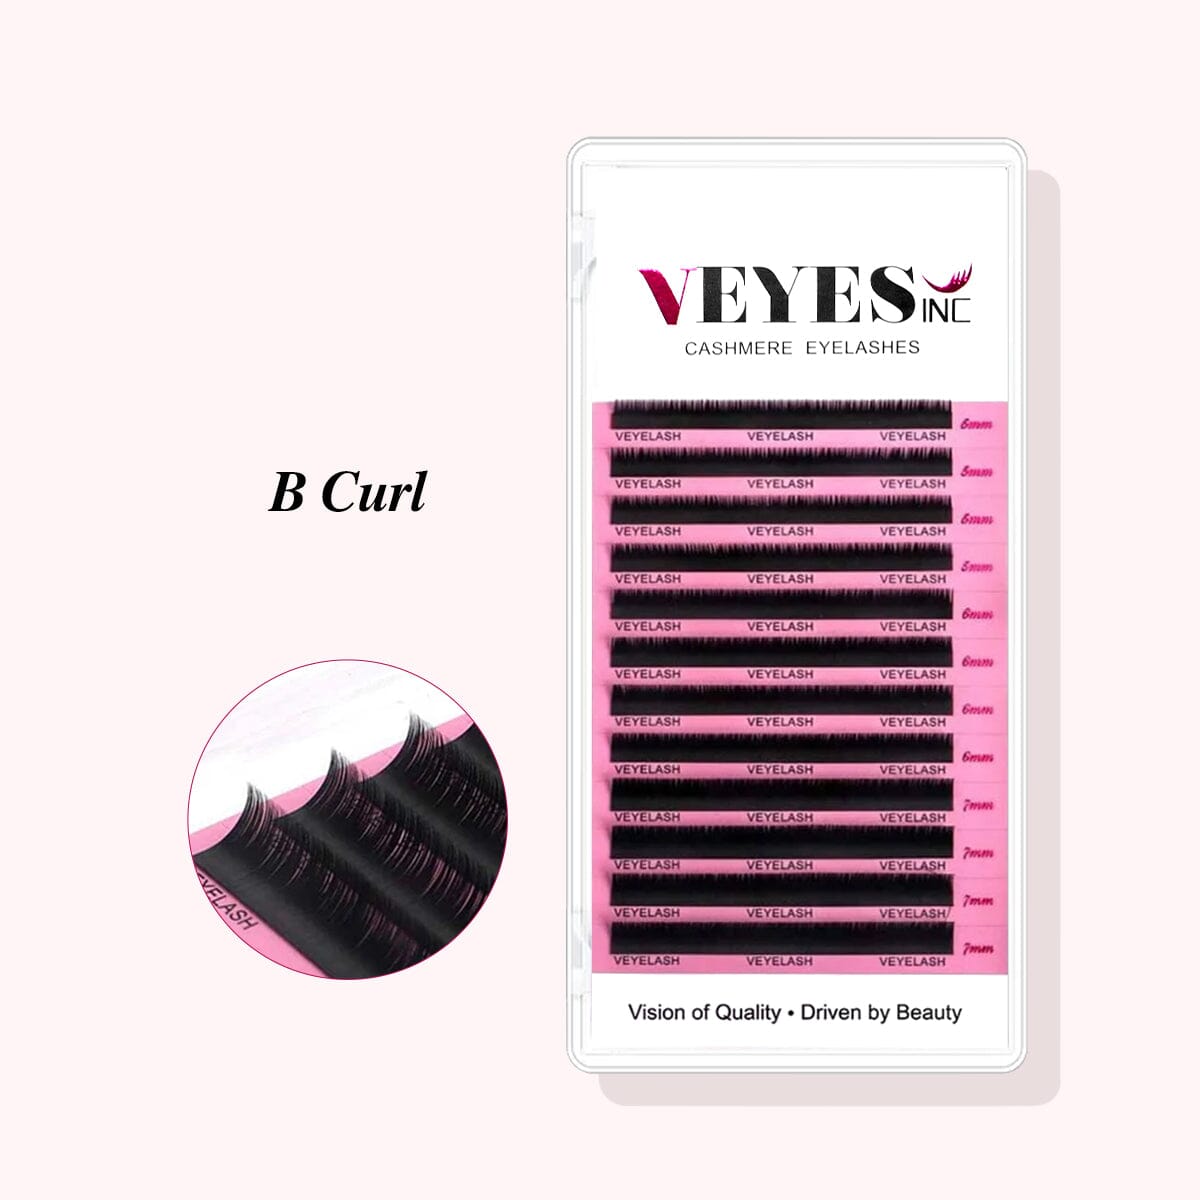
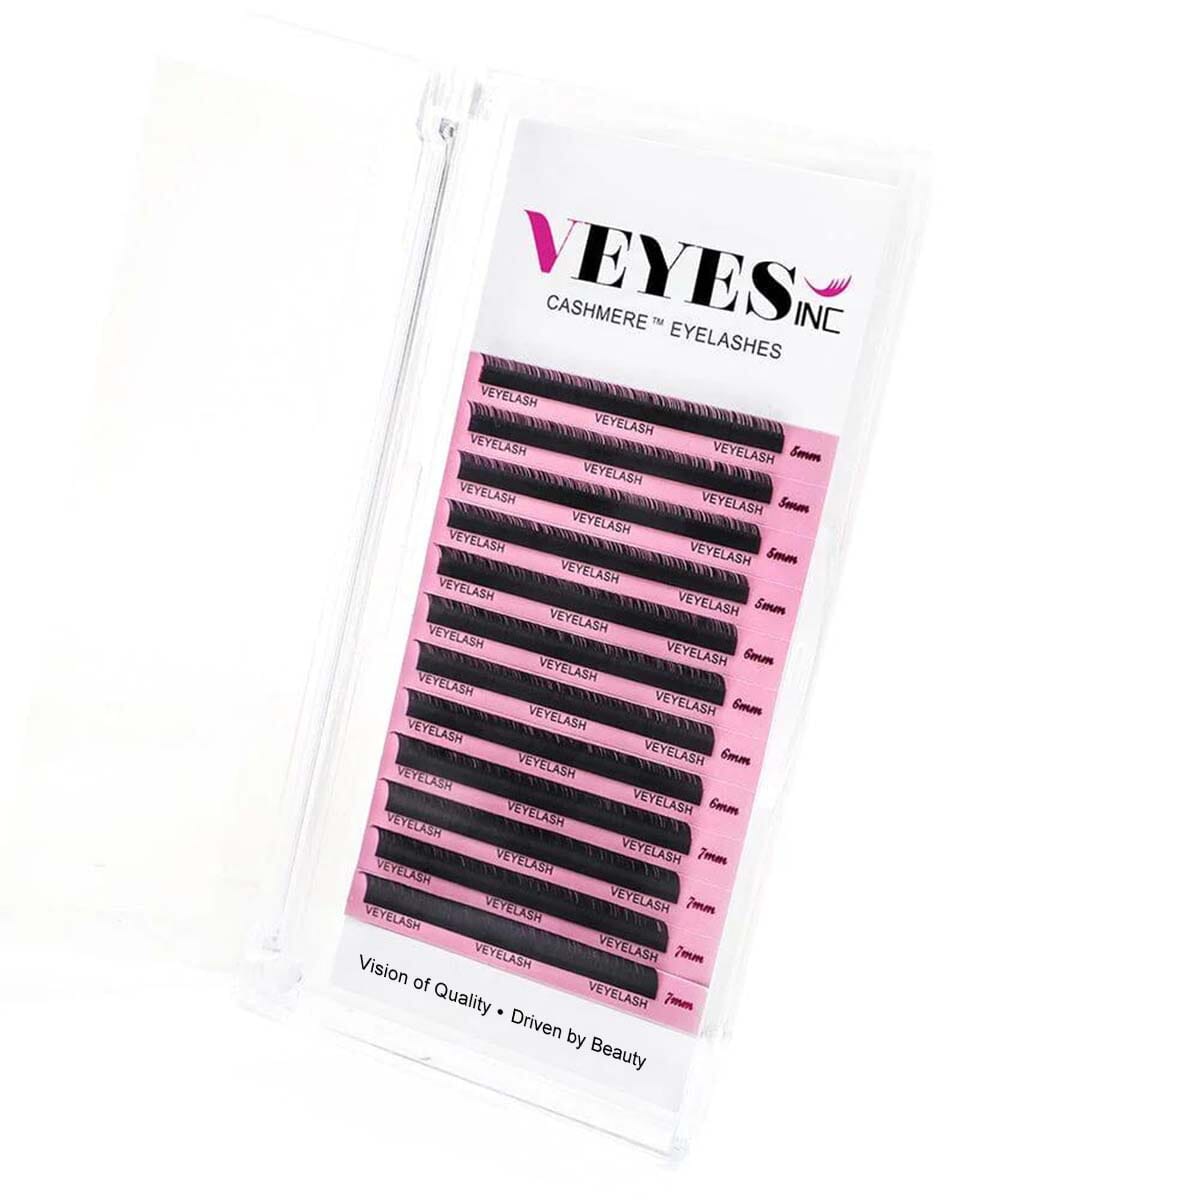
For a natural bottom lash look, choose lightweight extensions around 5–7mm in length and 0.05–0.07mm in thickness.
Pick up the extensions upside down so the curl faces downward. Dip the base into a small amount of thin lash adhesive, then gently attach it to the isolated natural lash following the lash’s natural direction.
Step 4: Finish and Check the Set
Apply a super bonder to help cure the adhesive, reduce fumes, and improve retention.
Before finishing, check that every extension is secure and that the lash line looks even and natural.
Remind clients to avoid rubbing their eyes, using oil-based products, and getting lashes wet for the first 24 hours after application.

Customer service
info@veyelashfactory.comFollow us
Learn how to apply bottom lash extensions with the right techniques, tools, and tips. Create a balanced lash look while keeping clients comfortable and natural.

Explore VEYES lash glues designed for every application, from fast drying and strong hold to sensitive-friendly and innovative formulas.

With its precision design, gentle formula, and professional performance, the VEYES Lash Eraser Pen gives lash artists a smarter way to correct and perfect every lash set.